Showing posts with label fun. Show all posts

DIY Polaroid Picture


Um… Yea, this paper cutter is really old. I'd say 15 years old. So it's grown up with both my kids which have left me nice little markings. Even signed my name on it. How nice! Cute memories…
Last year, I actually looked for a new paper cutter. Even purchased one off amazon, but I sent it back. It wasn't cutting it. Ha! I like my old cutter, markings and all!


DIY Polaroid Picture

What you will need:

a paper cutter/scissors 
cardboard
a picture of your choice
mod podge
white paint


I first printed my picture from my computer on a sheet of thick 8.5 x 11 paper. The picture it's self is an 8 x 10. So I cut the edges of white away from the actual picture. This picture of the Statue of Liberty was actually taking by me this summer on our trip to New York. It was such a fun day exploring, view and hanging out with the Statue of Liberty. The weather was really nice which made for a great boat ride over to the island. Only trouble we had was my youngest daughter wasn't feeling well that day. Stomach cramps for half the day, not sure if her breakfast didn't settle well with her or what. 

After I printed the picture, I found a piece of cardboard. Using my paper cutter to trim the edges of the cardboard. Then, I painted the trimmed cardboard white. I used Mod Podge to glue the picture to the cardboard centering it up toward to top section on the piece of cardboard. Measuring is not a big cup of tea of mine. Most of my work is guess work, me gauging with my eye. The main goal is to make sure you have equal amounts of white cardboard on the top, left and right side. The bottom portion should be a larger space.


On the back side of the Polaroid picture, I made a simple hanger using quick grip, my go to glue, and craft lace. Simple! Fun! Easy!


Have you been to New York?
Have you seen the Statue of Liberty?
Do you like Polaroid Pictures?

Pedal's Day

Spend the day with Pedal!

Well, not only did I pray to find a turtle like my childhood turtle one day, I also prayed to find another turtle so our Fred wasn't lonely. Almost a year to the date later my youngest daughter and I were out riding bikes. On the ride back almost home I saw something in the street. When I got closer looking down it was another turtle. This is where he gained his name, Pedal. Since we were on a bike with pedals, Pedal it was. We can pick him out from the slight little pedal looking mark on his under side on the lower left. See picture above. 


(the moment we found Pedal on our bike ride)

(meeting Fred for the first time)

Fred liked having a new friend once they settled in better together.


This little guy is knocking on 2 inches. He wasn't this big when we found him, but has grown a little.  


Look at his little feet trying to push away. 


Those eyes…


and nose…

Below are the pictures I posted to instagram the day we found him. 


Read more about the turtles:

Can you tell Pedal is a baby compared to Fred?
How long should we keep them?
Do you like the turtle series?

What I recently made


September is a busy birthday month for my family and friends.

My mother n laws is just a few days ahead of mine, which were both last week. 

The kids tell me so often how much she loves frogs. 

So I got to creating! 

Meet, Give a Ribbit!


When I was in junior high, high school and college, I collected frogs myself. I'd even spend hours on my front porch taking as many pictures possible aiming for just the perfect one. This was back in the film days. So needless to say I ended up with a lot of unwanted pictures. Which then makes me think back to when people first were going digital. I was photographing weddings at the time enjoying my film camera. For a solid year, I fought myself in the mind set on there's no reason to go digital I am fine. Although, there's a few things I miss about the film world digital out weighs it by a long, long shot! 
 

My love of frogs gave me the inspiration to create this guy. Isn't this little guy the cutest little thing you've every seen. My oldest daughter tried to take it from me when I finished creating him. Starting out with a 10x10 gallery wrap, which is my most favorite size to work on and gallery wrap is my most favorite type of canvas to create on, I pasted scrape pages as the background. Once dry, I smeared a few hints of light green paint on the edges. Bubble wrap was used to make a touch of white spots. This was carried on over to the edges of the canvas where I worked some dark brown in as well. I always tried to create a paint pattern on the edges of the canvas that will coordinate with the background. As I type this, I realize the side of the canvas was not captured, maybe next time!


On to creating the frog himself, I pulled some pillow stuff I hand on hand out. Several years ago, I made window seat cushions and have a few bags of stuffing left over. It's one of many things I've kept in my supple closet making for lots of great creations. Forming what looked like a frog to me after glancing over a clipart of a frog, I glued the painted green stuffing to the canvas. Making his eyes, mouth, dots, front feet, back legs and stomach piece everything came together so nicely. I was truly happy with his out come. 


Hope he brings a JOYFUL ribbit to his new home!

Do you collect frogs?
Do you miss film photography?

T-shirt bracelet DIY


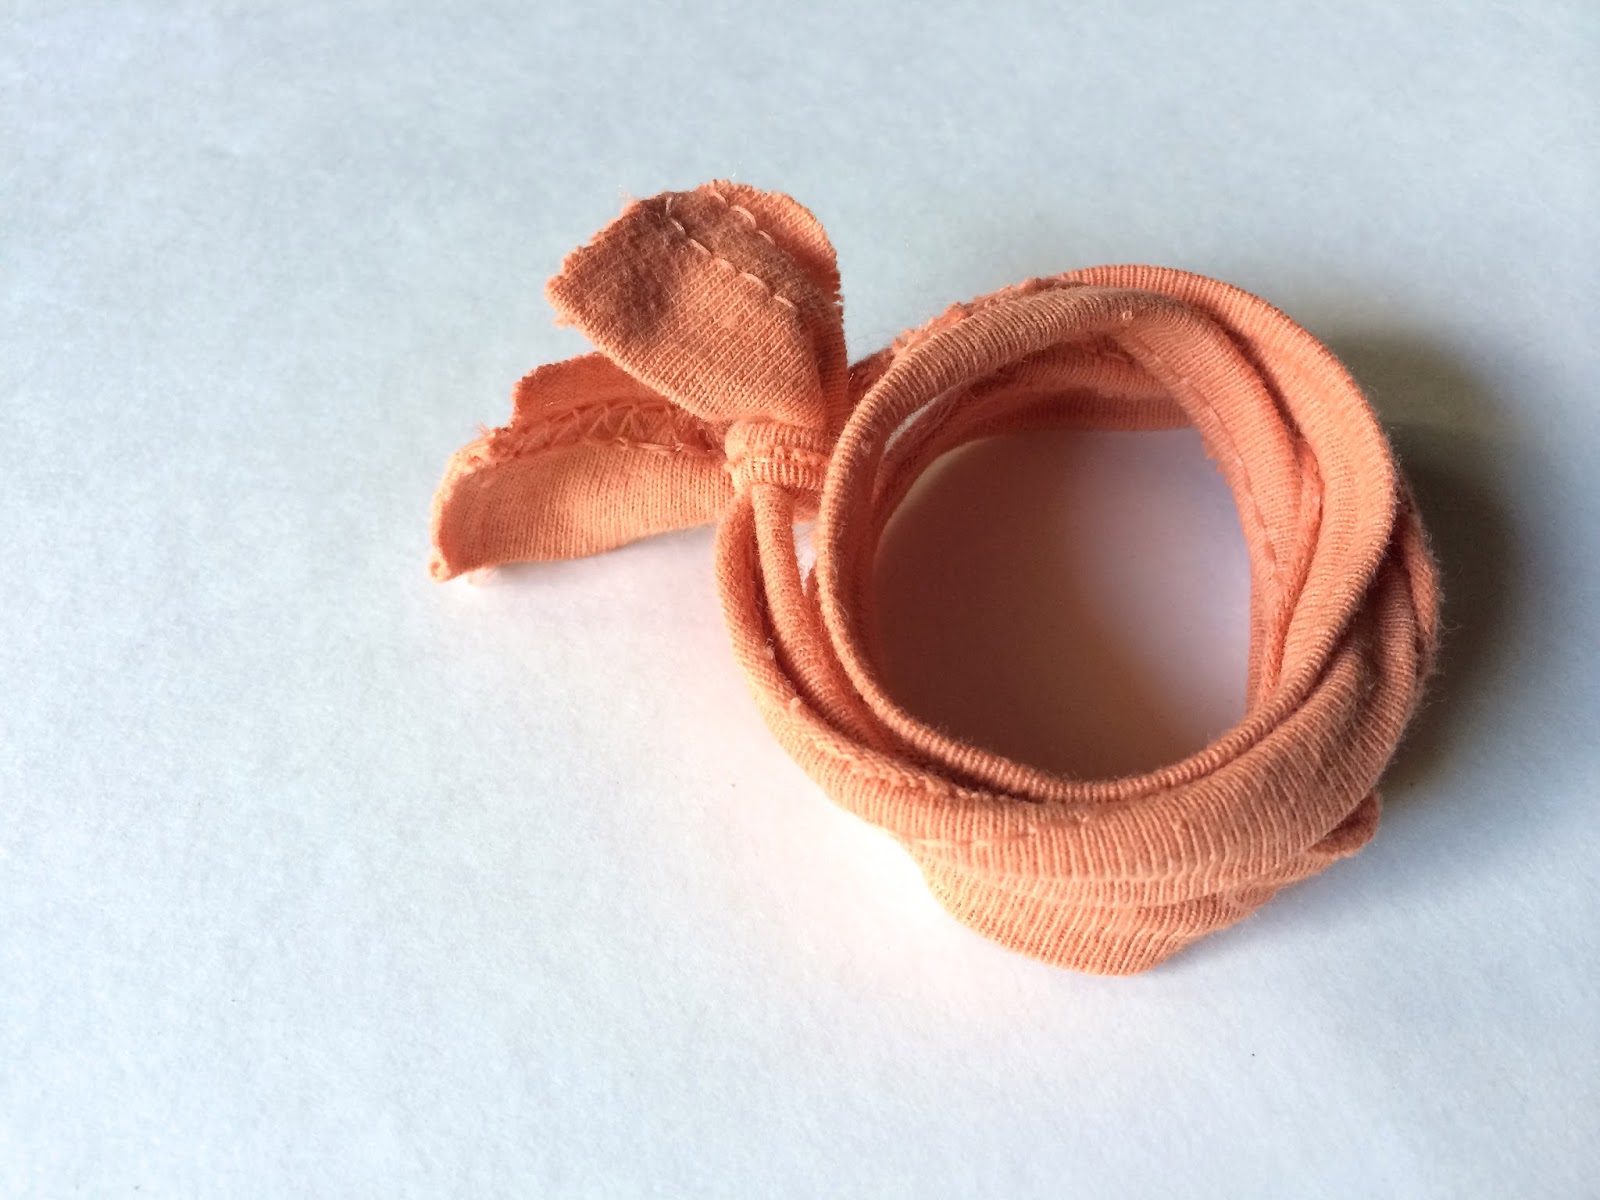
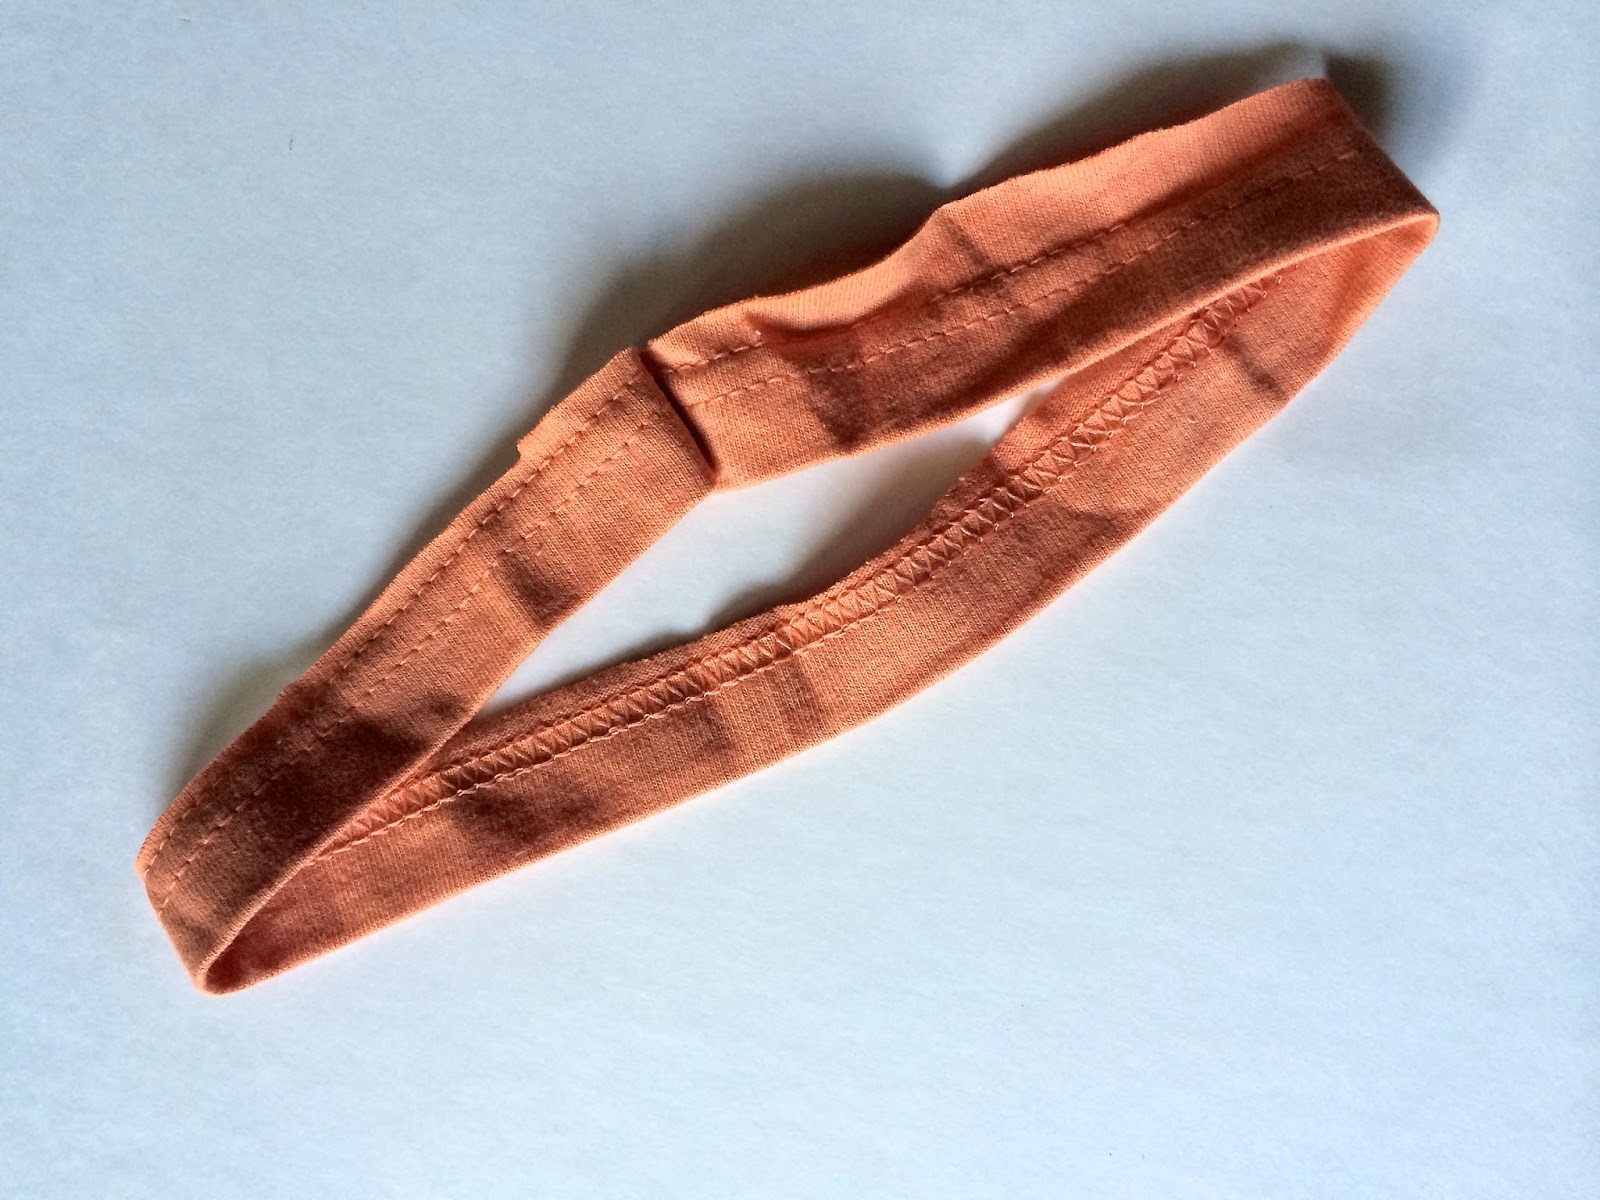
 I used a coral orange sleeve cut out of a mens Hanes T-shirt from Walmart .

I pulled it apart! Once it was apart, I stretched it like no bodies business…stretch, stretch, stretch. 

Then tied the two ends together in a simple knot. Very easy…

Once tied, I made three loops (see additional pictures above). When I speak of loops thats how many times the material actually wraps around my wrist. My wrist is kinda small. Some may like only two loops. Also, you could before you tie it wrap around your arm to see just how many loops you could get and tie your knot close to that. If there's extra material hanging cut to your liking. Three loops for me is kinda tight. I really have to work to get it on, but love it once its in place on my arm.  

I find great joy in finding new purpose from pure scrapes. This can be a fun easy project for anyone. A T-shirt bracelet can add such color to any outfit and can be mixed nearly with any jewelry you might already have. You can dress it up or down. 

Keep this project in mind when tossing out old shirts! #pinme


Do you have old T-shirts you can cut up?
What's your diy with old clothes?
What's your favorite piece of jewelry?

I'll take it!


My little World Cup lover and me headeding out for 
an afternoon ride on her John deer. Notice
the smoky smudge look to the picture.
My phone was inside while 
we played a game of 
around the world
before heading out. I ran inside to grab my phone.
When I asked if I could take our picture she 
said yes when it's usually a big fat NO!

I took her up on it not caring about the smoky smudge look.


She carried me to the top of our neighborhood as we call it. 
The above picture is the first lake we came to. A
storm was coming up. We actually saw 
a few strikes of lighting out.

Below is the second lake we passed.
Notice that same cloud.


Below is a few little wild flowers I got her to stop 
and let me snap. I downloaded a new photography app,
Afterlight, today using it to edited these pictures. 

I recently took Alisa Burkes the art of blogging class. This app was
suggested in her class. I think I kinda like it…
All of these pictures where taking with my iPhone 5 hope 
you enjoy! 

It's raining now…