Thursday Turtles


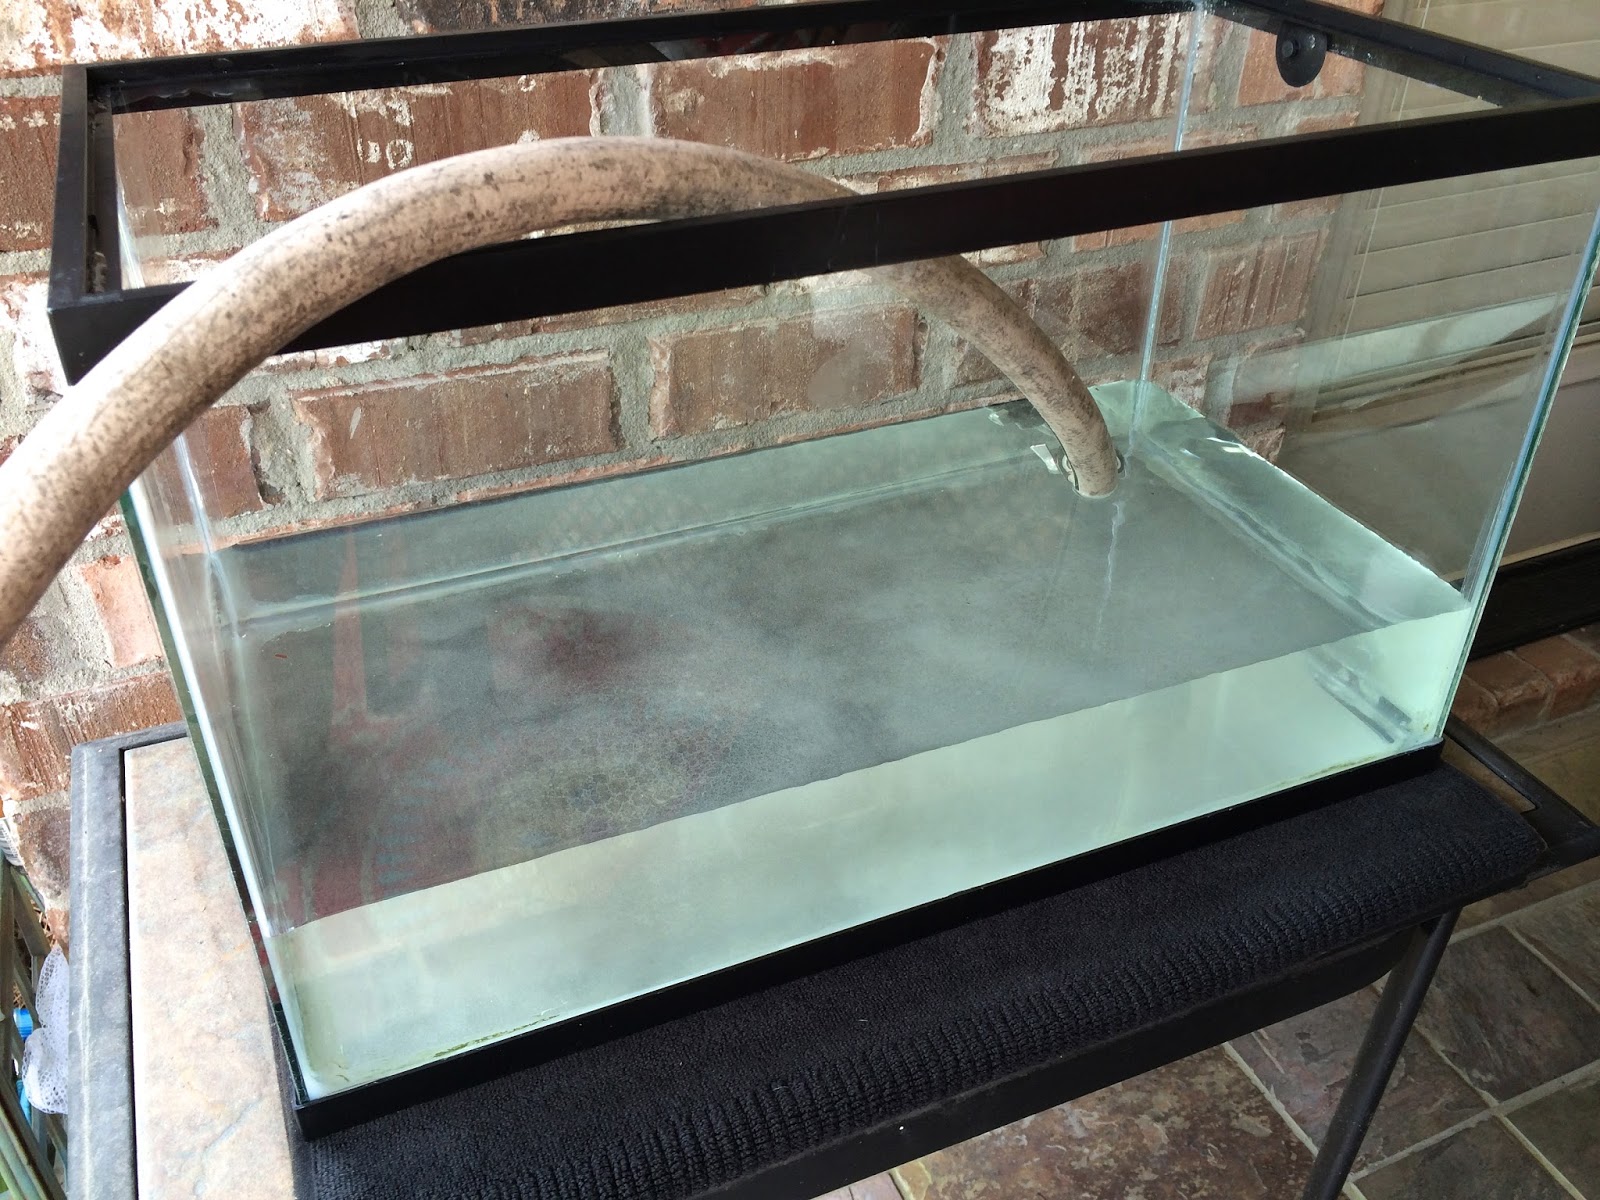
This my friends here above is a clean turtle aquarium. Below is the unclean turtle aquarium, where we actually start todays journey, cleaning the turtles aquarium. Yuck, nasty, I know! (Be sure and see at the end of this post for a look back on Thursday Turtles-click on each one to look back)


Let the process begin, I start here with a net to fish out each turtle one by one. 


I place each one in a small clear plastic container. They climb over each other repeatedly to a settling stance waiting to see what's next. 


Using an old toothbrush, I lightly scrub their back to remove what amount of yuck I can. 


While they continue sitting in the container, I begin the process of dumping the water and washing the aquarium out. If you notice there are two rocks laying next to the aquarium. One is a floating rock, it's the big one, and the small one is a regular heavy rock. Both are removed and scrubbed down. 


I love to wipe the glass with a paper towel removing the water spots. 


Crystal clear, I start the process of putting water back into the aquarium. The aquarium is set back on the table on top of a black towel. I place the water hose into the aquarium slightly turning the water on. This process of putting water back into the aquarium doesn't take long at all. Usually I only fill it up half way. What does take a long time is the entire process start to finish and taking pictures of each step take even longer. 


Get me out of here!


Almost full!

Full!


They love when their water is clean. They swim for hours once they adjust to being back into the water. I did a video one day of them swimming around in clean water to my grandfather. He loved it!


A look back:

DIY Mouse Pad


DIY Mouse Pad

What you will need:

a piece of cork board
a picture
scissors 
paper cutter
glue/Mod Podge


We in recent weeks took a family trip to the beach. It's our tradition capturing a family picture one of the nights we are there. After reviewing the pictures taken, I edited them, printing one on a piece of card-stock. I'd been wanting a new mouse pad for some time. A book had been serving the purpose. Remebering I had a rolled up piece of cork-board from a previous project. 


I started the process by trimming the cork-board. Placing the picture on top of the cork-board as my guide. I knew I wanted equal amounts of cork board showing along side the picture on the finale mouse pad. Again, as I always say I went with what felt natural to me, to my liking. You may choose differently making it totally yours. 


Once the process of trimming the cork-board was complete, I begin glueing the back of the picture with Mod Podge to the cork-board. Then a heavy object on hand was place on top of the picture glued to the cork-board. This was done to assure a flat drying process. After the drying process, I begin the process of covering the picture itself with Mod Podge as a protective slick surface. The ink pigments in the picture did begin slightly to smear. Working fast with the Mod Podge, I was able to gain control with only slight smears only I would know about. In the end the Mod Podge made the colors pop bringing life to the mouse pad. A second coat of Mod Podge was applied on top of the picture to assure a smooth surface. Waiting a few minutes for drying between the two coats. 


Once the picture was dry, I place a piece of wax paper over the top of it. Then placing a heavy object, a box in picture above, on top of the entire mouse pad to assure the final product would dry flat. I used the wax paper to assure it wouldn't stick to the bottom of the heavy object. 


Here's the finished project at my desk right where I type all my blog post up for you!

I love the finished product and so glad to save the money on having one made. Having all the supplies on hand made this a near to nothing costly for me. I love projects like that. I am pretty tight when it comes to spending money. 


Where's Your Green


I am amazed how well pink and green go together. Isn't God great that He pulls the two colors together that are supported in the month of October for cancer awareness. Of all the other colors and all the other cancers, 
the two colors: pink and green
the two cancers: breast and liver
are both supported in the same month.

PINK-breast cancer awareness
GREEN-liver cancer awareness

Only thing is you just don't see enough green!

I know my other fellow survivors, fighters, families, caregivers and friends are honored to see as much green as we do! But let's see more, let's make more aware, awareness brings hope!

Where's your green?


Other things you might like to view:

I wear green with a pinch of pink!

In the same way, let your light shine before others, that they may see your good deeds and glorify your Father in heaven. Matthew 5:16 (NIV)

DIY How to Paint a Fox


DIY How to Paint a Fox

What you will need:

a pencil
a eraser 
a pen
a mix media pad
or
a watercolor pad
watercolor palette
water
paintbrush
a piece of 3x3 cardboard
a picture of a fox
time 
patience 
confident heart

(this post includes a video, see further below)


Pick your fox pictures out, I found mine on Pinterest. You many see one in a magazine, a kids book or google. It helps to look at something for inspiration. I really like the two fox in the above picture. 


clear your workspace
trace the 3x3 cardboard
study the fox picture/pictures you gathered
begin sketching out what you see
if you mess up, erase, sketch again
sketch over your sketch to define clearly
lightly erase your sketch (so you don't see it through your watercolor)
start in the upper section of the fox mix a few brown colors from your watercolor palette 
mix colors to your liking, remember you are the artist
yours will not look like mine or the person next to you
use those same brown colors around the outer parts of her ears
use a white to make a light tan to fill in the lower half of the fox face
use a dare brown for the a half of the inside of the ear
use the white for the other half of the inside of ear
dark brown for the nose
lite brown for mouth
black for eys
blue for glasses
you can use your pen to lightly outline (I did not)


Notice I didn't use my black pen to outline. This is something I usually do but I ran out of time. Can easily do it if you like or leave it as is. I kinda like mine without.